Showing posts with label paint. Show all posts

Sunday, May 14, 2017

dresser redo


i got this cute chippy dresser at junktagious way back in october.  i loved how chippy it was, it was solid & steady, the drawers all pulled nice.  and the wood handles, with the pant warped.  most likely from kitchen grease. the caster wheels were cool, but i didnt think i would keep them on.  i wanted to put a coat of poly on the base to keep the chippy feel & paint the top.
 

the original plan was to make it into a night stand for z.  he wanted the other dresser with the zinc top for his room.  guess that will teach me to start working on a project BEFORE i ask.  or next time i                                                                  wont ask, and i'll just do.                                                                                                                                     
 the original top that i started to paint blue to match z's room... 


this was what was under the original top. not very pretty so i went to the hardware store/lumber yard and got a nice piece of oak to cut down and use. i wanted a dark top to contrast with the chippy white.  (glad my hubby was able to help me out with the top or it woudnt be this pretty)  there was some funky wall paper stuff on the inside that i pulled and scrapped out most of.  you can still see some of it in the finished pictures.   

here is the finished project.  i love how it turned out   i took the bottom drawer out and it is now my laundry hamper. its not perfect, but its perfect for me. 


Wednesday, January 4, 2017

christmas-ornaments!

as a kid i liked the big nelsen family christmas.  its not that we added that many more people, or saw family that lived far way at this one event, or got the best gifts.  but we did get an ornament.  each year my great aunt would make us each an ornament.  i think i could probably name most of them to this day.   even after not seeing some of them for years, with all the ornaments that my kids have.  but i love them.  and she continues to make ornaments each year, only i don't get them, my kids do.  

i too will carry on this tradition.  this year i had to make 25, plus a baby's 1st.  
this years ornament was a popsicle stick sled.  


and for my new niece, a stamped washer with snow flake charm.  


i can't wait to pick out the ornament for next year.  there are too many to choose from!

Sunday, June 12, 2016

dresser redo's and a bed

 z didnt really have a good bed set.  when he moved down stairs, we got my a bed set from my sister.  it served its purpose, but i wanted something that he could eventually take with him....  some LONG distant day down the road.  i got a pretty good deal on these 2 dressers.  the top on 1 was a bit rough, but i thought i could maybe fix or paint it.  best part is they are real wood and pretty solid and sturdy. 

 apparently i didnt get very many before pictures.  but this is what the tall dresser looked like with a few drawers sanded and original.  there were some wood decals on the front of the smaller middle drawers that werent complete.  i ended taking them off (with a little muscle and a putty knife) so i had to sand all the drawer fronts.  at this point i wasnt sure if i wanted to try to fix the tops or paint them.  

but i liked the color that came out when i sanded, so paint the tops it was (i know i DONT paint wood.  this was a once in a handful of times it will probably ever happen to furniture) 


had i known how hard it can be to strip off veneer, i may have decided to fix the tops.  it was NOT fun.  took LOTS of muscle, a few different putty knives and a warm wet towel.  once i finally got all the veneer off, i did like the wood.  but i only stripped 1 top and i wasnt about to to the other, no matter how neat the wood underneath was.  


here are the drawers after i got them washed up.  beautiful color!!!


and the finished result!  i like the 2 tone wood from sanding the drawer fronts and just resealing the sides.  i did use a chalk paint fro the tops, but wanted a more rustic feel to them, so i used my palm sander to remove some of it.  


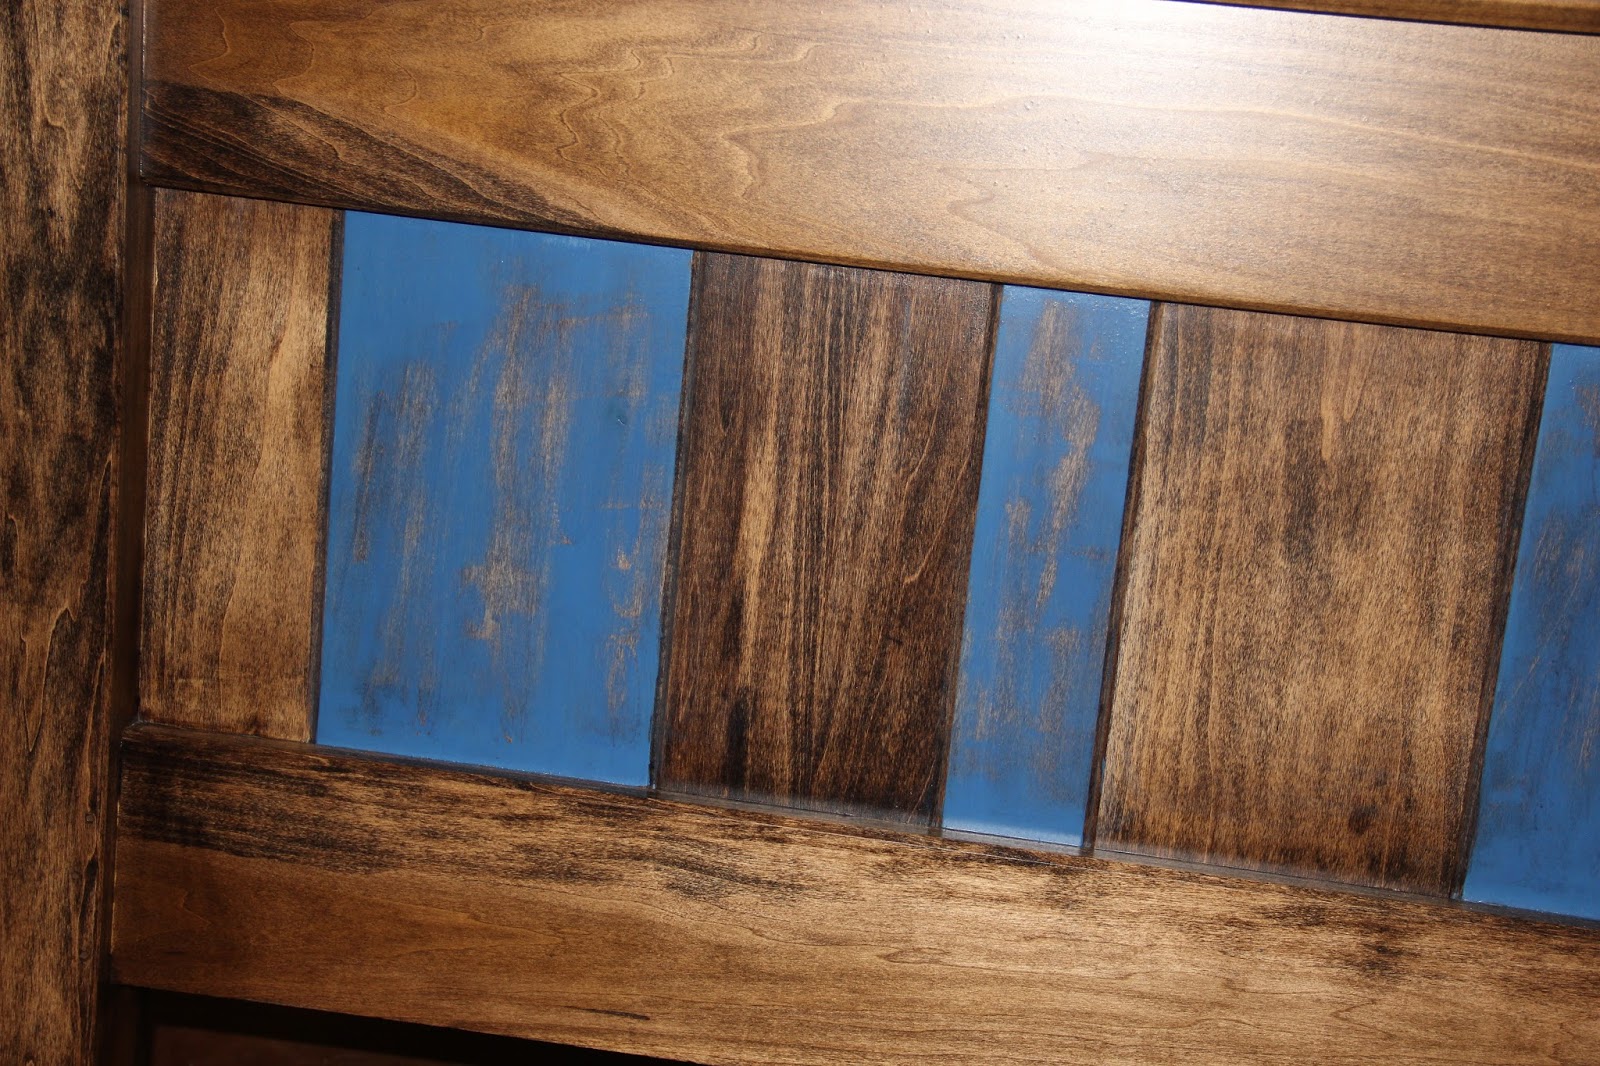
now you must be thinking i said i wanted z to have a bed set to take with him someday. but you have only mentioned dressers.... i had to have a headboard, foot board and frame made.  blake did an awesome job taking my ideas from pinterest and making it come true.  i love how the boards are all different widths.  and its very sturdy.  

Wednesday, May 4, 2016

what time is it??? its time to craft!!!

i had a really hard time finding a clock for the craft room.  i wanted something big cause i had the wall space & so that it could be seen from anywhere in the room.  i was going to have a craft friend paint me something, but i couldn't even decide on what to have painted.  


but then i was looking for a whisper clock.  i have a thing with the tick, tick, tick of clocks.  i have been called captain hook before.  i cant sleep when i hear that tick.  when i was in the hospital after having z & p, i took the clock off the wall and covered it with crap to quiet the sound.  crazy i know.  


so when i was looking for the whisper clock i found those BIG family clocks.  and a light went off.  i could have the kids paint some pictures for me & use those as my numbers!  it was interesting trying to find the canvas' that didn't cost me an arm & a leg.

  then z didn't want to paint.  so it was just p & e.  then e got tired of painting...


i really love my clock.  art work with meaning.  i can look and see how both girls have grown with their art.  


Thursday, June 25, 2015

sidewalk paint fun

i promise i haven't forgotten about my blog.  i've just been crazy busy.  some days its a tough choice between outside work or sewing.  if i am lucky i can get in both.

the other day, a told the kids that they were all going to take a square of the sidewalk and chalk it all up.  time got away from him, and he forgot all about it.  just so happened that i had been thinking about making sidewalk paint for the kids to try out on the same night.  it was a HIT!!!  esp with miss p.  we found out that regular paint brushes work better.  i got the cheap 50c, 1" brushes from the farm store.  the foam brushes just soak up the color.  for the most part everyone did a square, some did more.  you can really tell that p loves to draw & paint.  she did the most.  she has asked me when i am going to make it again.  

here is the recipe.  ready?  its pretty hard.
mix 1 c water with 1 c corn starch & some food coloring.  then go have fun! 

we also found out that you should stir your paint every once in a while otherwise the corn starch starts to seprerate & settle to the bottom.  


 p's designs

 a's anchor and foreign language (anyone know what he wrote?)

 z's large mouth bass

a & the girls having fun with the paint.  

Monday, March 2, 2015

progress in craft room

i have not only been busy in the craft room, but for the craft room as well.  and so have the kids.  i had them each paint some pictures for me to hang up on the wall.  

i love seeing each of them create something. z and p each did a house and water scene.  e just paints. 

 i also had drawers made for this antique desk i had picked up a long time ago.  i think technically its upside down, but works best that way for my purposes.  i love it cause everything now has a permanent place and it's labeled.  and i still have a few drawers open. 

 then i had to do some creative thinking on how in the heck i was going to hang up all my stamps.  the clips i have had for a long time have way smaller hooks than any cafe rod i could find.  so a trip to menards and the farm store (thanks uncle mark) solved my problem.  

 and i wanted a place to write down ideas, my to do list (never ending), what i need to make for up coming shows, and any thing else.  so up went a chalk board.  i love it and have already wiped some things off my list (and a had to leave me a note-love that man so)
 i do have a sewing box that i love, but as i was paroosing pinterest one day i saw something awesome.  a board with nails.... to put all my spools and bobbins on!!! unfortunately i ran out of nails so i cant put all my spools up til i can get back to menards.  but what i do have up has been super nice. no more lifting up a spool to see it its the right color, all my bobbins are on the same nail as the spool they match, so i don't have to hunt for those, either.  and this was a while ago project, but i used pic line (plumbing line) cut into short rings with a slit in it as bobbin stoppers so the tread doesn't come off (as easy anyway)

and my new storage.  this was a fun project that i decided to go with plan b in the end.  but i love how it turned out and know that if i need more storage (cause you never know) that i can just make another bracket and get longer boards and bam, i have another 32 inches or so of storage.  


next will be the kids area.....

Monday, April 28, 2014

its done!!!! (well kind of)


we are FINALLY done with the basement (90% anyway-need to finish plumbing) and this is the craft room.  i LOVE all the counter space and drawers!  i am still in the process of getting stuff put away.  needing a big shelf to go in the corner for all my big totes.  its been fun putting stuff away knowing that this is finally 'home' for my craft supplies.  then i'll do some decorating on the walls (have to have a chalk board to messages and to do's) and stain and finish my cool antique door!

Saturday, February 22, 2014

p's artwork


almost everyday i get 3 or more pictures from p that she colors/draws/ creates at school.  and what to do with all this beautiful art?  she likes to hang it in her room.  when she moves down stairs we'll make her some art boards for her room.  and i have taken to scanning each one so that i dont have to save them all.  i cant imagine how many boxes i would have full of art work.  at the end of the year, i'll make a shutterfly book for her to have.