Showing posts with label wood. Show all posts

Wednesday, January 4, 2017

christmas-ornaments!

as a kid i liked the big nelsen family christmas.  its not that we added that many more people, or saw family that lived far way at this one event, or got the best gifts.  but we did get an ornament.  each year my great aunt would make us each an ornament.  i think i could probably name most of them to this day.   even after not seeing some of them for years, with all the ornaments that my kids have.  but i love them.  and she continues to make ornaments each year, only i don't get them, my kids do.  

i too will carry on this tradition.  this year i had to make 25, plus a baby's 1st.  
this years ornament was a popsicle stick sled.  


and for my new niece, a stamped washer with snow flake charm.  


i can't wait to pick out the ornament for next year.  there are too many to choose from!

Wednesday, December 7, 2016

an early christmas gift

its been just as crazy this fall.  football that went RIGHT into basketball, dance, girl scouts...
this year we decided to brave the almost 14 hour car drive with 4 kids under 10 and go visit my sister in law for thanksgiving... in montana!  while i don't recommend the drive in the fall (i saw 38 live deer, 10 dead deer, 2 horse and 2 shooting stars on the way out alone) it was a great trip.  i went on a  local hike once we got there, enjoyed tons of good company, fellowship and food.  i was sad when we had to leave.  and since i knew that i wouldn't see the family again at christmas, i tried to get all my christmas gifts done to bring out there so that i didn't have to mail them.  TRIED is the key word.  i forgot to account for being gone for the week before we left.  but i did get half of them done.  that saved me a good chunk of postage.  especially this guy right here.  


when i was making my x's and hearts for valentines last year, inspiration struck that r would love a barn wood 'w'.  because i wanted to see her expression, i made her open it while we were out in mt.  she cant wait to get their basement finished so she can hang it up.  


look at that beautiful weathered wood detail!

back to the basement for me.  this elf needs to keep her butt in gear or the rest of the gifts wont get finished.

Sunday, June 12, 2016

dresser redo's and a bed

 z didnt really have a good bed set.  when he moved down stairs, we got my a bed set from my sister.  it served its purpose, but i wanted something that he could eventually take with him....  some LONG distant day down the road.  i got a pretty good deal on these 2 dressers.  the top on 1 was a bit rough, but i thought i could maybe fix or paint it.  best part is they are real wood and pretty solid and sturdy. 

 apparently i didnt get very many before pictures.  but this is what the tall dresser looked like with a few drawers sanded and original.  there were some wood decals on the front of the smaller middle drawers that werent complete.  i ended taking them off (with a little muscle and a putty knife) so i had to sand all the drawer fronts.  at this point i wasnt sure if i wanted to try to fix the tops or paint them.  

but i liked the color that came out when i sanded, so paint the tops it was (i know i DONT paint wood.  this was a once in a handful of times it will probably ever happen to furniture) 


had i known how hard it can be to strip off veneer, i may have decided to fix the tops.  it was NOT fun.  took LOTS of muscle, a few different putty knives and a warm wet towel.  once i finally got all the veneer off, i did like the wood.  but i only stripped 1 top and i wasnt about to to the other, no matter how neat the wood underneath was.  


here are the drawers after i got them washed up.  beautiful color!!!


and the finished result!  i like the 2 tone wood from sanding the drawer fronts and just resealing the sides.  i did use a chalk paint fro the tops, but wanted a more rustic feel to them, so i used my palm sander to remove some of it.  


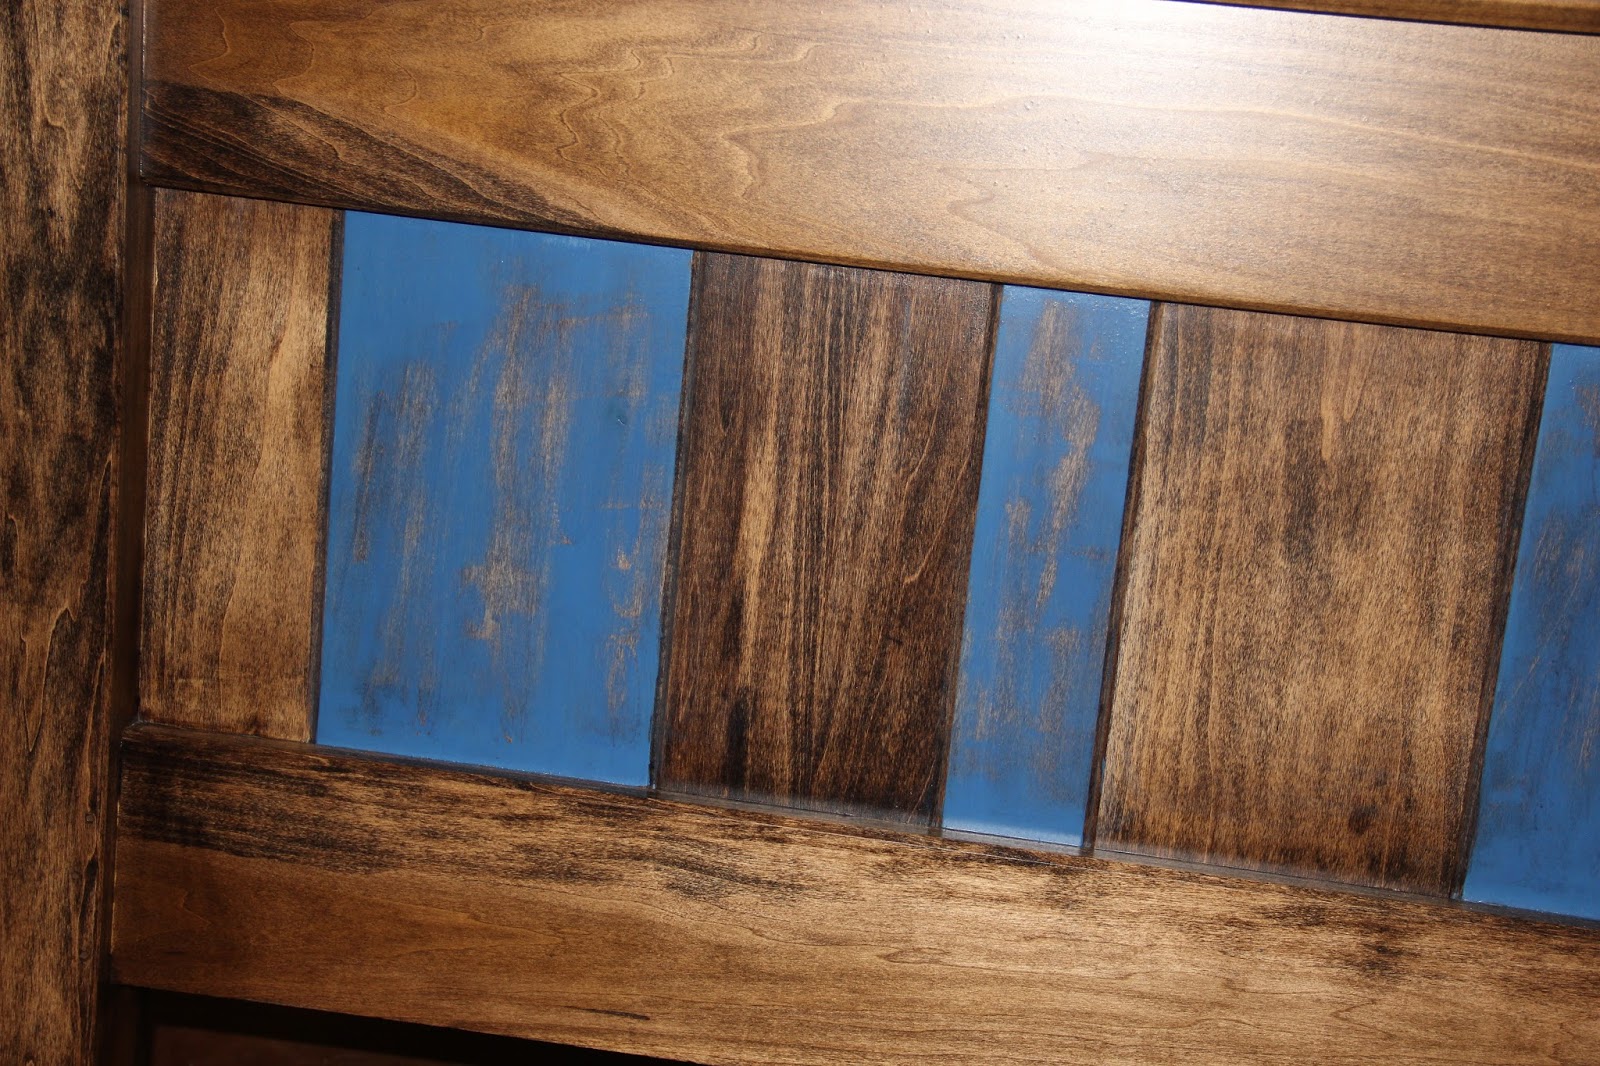
now you must be thinking i said i wanted z to have a bed set to take with him someday. but you have only mentioned dressers.... i had to have a headboard, foot board and frame made.  blake did an awesome job taking my ideas from pinterest and making it come true.  i love how the boards are all different widths.  and its very sturdy.  

Tuesday, May 19, 2015

spring never has enough time

while i LOVE spring and summer-warm weather, camping, lightening shows, rainbows, swimming, lightening bugs.... i don't like that it means that i have to divide my time.  inside crafting or outside working. one of the 1st things we do is get the camper out and ready.  big a (bless him) parked the camper on the cement for me so we/i could get it ready this year.  plus he's been bugging me about washing the outside for the past few years. he did a great job (though we should have done it last year).  mother nature has been a bit too bipolar with temps to do much of anything else. so while little a was in jersey (she gets back tonight) i decided i had better get her bed fixed. it was attached to a metal frame....but it was SO noisy! she couldn't breathe without it squeaking.  so i had been looking on pinterest and found a tutorial for making a wooden bed frame & head board.  didn't need the head or foot board (thanks to a great friends dad for making these for me a few years back out of old doors), but the info on the frame-heck yes! got my lumber and went to town.  (twice cause i originally got 2x8's which were too big-that should have been my 1st clue) cut a good 9" of the head & foot board, they were kinda tall and then i would have had to deal with big holes from where the bolts were at for the metal frame. cut the side supports and slats.  made 3 supports for the slats since the mattress is so heavy.  get it all put together (after issues with a few of my screws) and the box spring wont fit :( so on to plan b.  big a had suggested to move up my slat supports, but that would have made the bed awful high with nothing to keep the box spring in place.  so back to town for more lumber i went.  i was only about an inch off, so i decided to put the side supports on the outside of the  head/foot boards.  i was SO happy that it fit.... that bed wasn't going to beat me! 
now it makes me think that i should maybe do the same to p's bed..... 


Monday, March 2, 2015

progress in craft room

i have not only been busy in the craft room, but for the craft room as well.  and so have the kids.  i had them each paint some pictures for me to hang up on the wall.  

i love seeing each of them create something. z and p each did a house and water scene.  e just paints. 

 i also had drawers made for this antique desk i had picked up a long time ago.  i think technically its upside down, but works best that way for my purposes.  i love it cause everything now has a permanent place and it's labeled.  and i still have a few drawers open. 

 then i had to do some creative thinking on how in the heck i was going to hang up all my stamps.  the clips i have had for a long time have way smaller hooks than any cafe rod i could find.  so a trip to menards and the farm store (thanks uncle mark) solved my problem.  

 and i wanted a place to write down ideas, my to do list (never ending), what i need to make for up coming shows, and any thing else.  so up went a chalk board.  i love it and have already wiped some things off my list (and a had to leave me a note-love that man so)
 i do have a sewing box that i love, but as i was paroosing pinterest one day i saw something awesome.  a board with nails.... to put all my spools and bobbins on!!! unfortunately i ran out of nails so i cant put all my spools up til i can get back to menards.  but what i do have up has been super nice. no more lifting up a spool to see it its the right color, all my bobbins are on the same nail as the spool they match, so i don't have to hunt for those, either.  and this was a while ago project, but i used pic line (plumbing line) cut into short rings with a slit in it as bobbin stoppers so the tread doesn't come off (as easy anyway)

and my new storage.  this was a fun project that i decided to go with plan b in the end.  but i love how it turned out and know that if i need more storage (cause you never know) that i can just make another bracket and get longer boards and bam, i have another 32 inches or so of storage.  


next will be the kids area.....

Sunday, December 21, 2014

happy christmas & merry new year


 happy christmas from the schlarecki's. (that is what big a calls us) its been a crazy month trying to get ready for christmas at this house.  i am not all matchy & theme oriented when it comes to christmas decorating, but for some reason i have a thing will all our stocking having to look at least coordinated.  so while they are all a different quilt block pattern, they all have matching fabrics.   it was fun picking out all the different blocks.  maybe after christmas i will have time to get to t's.  we almost need a bigger banister to get them all hung.  but as little a put it-we have a big family and we love it!

each year when i get new nephews or nieces i make them a 1st christmas ornament along with the one that everyone else get.  this time i had to make 3 (lucky mom got 3 in 1 year) and yes i know i am missing 1, but i screwed up on stamping the tags and figured it was better to make sure that my new nieces got theirs at christmas.  
and these are the ornaments for the year.  it was fun thinking of christmas/winter words.  but i needed more vowels!

Monday, October 27, 2014

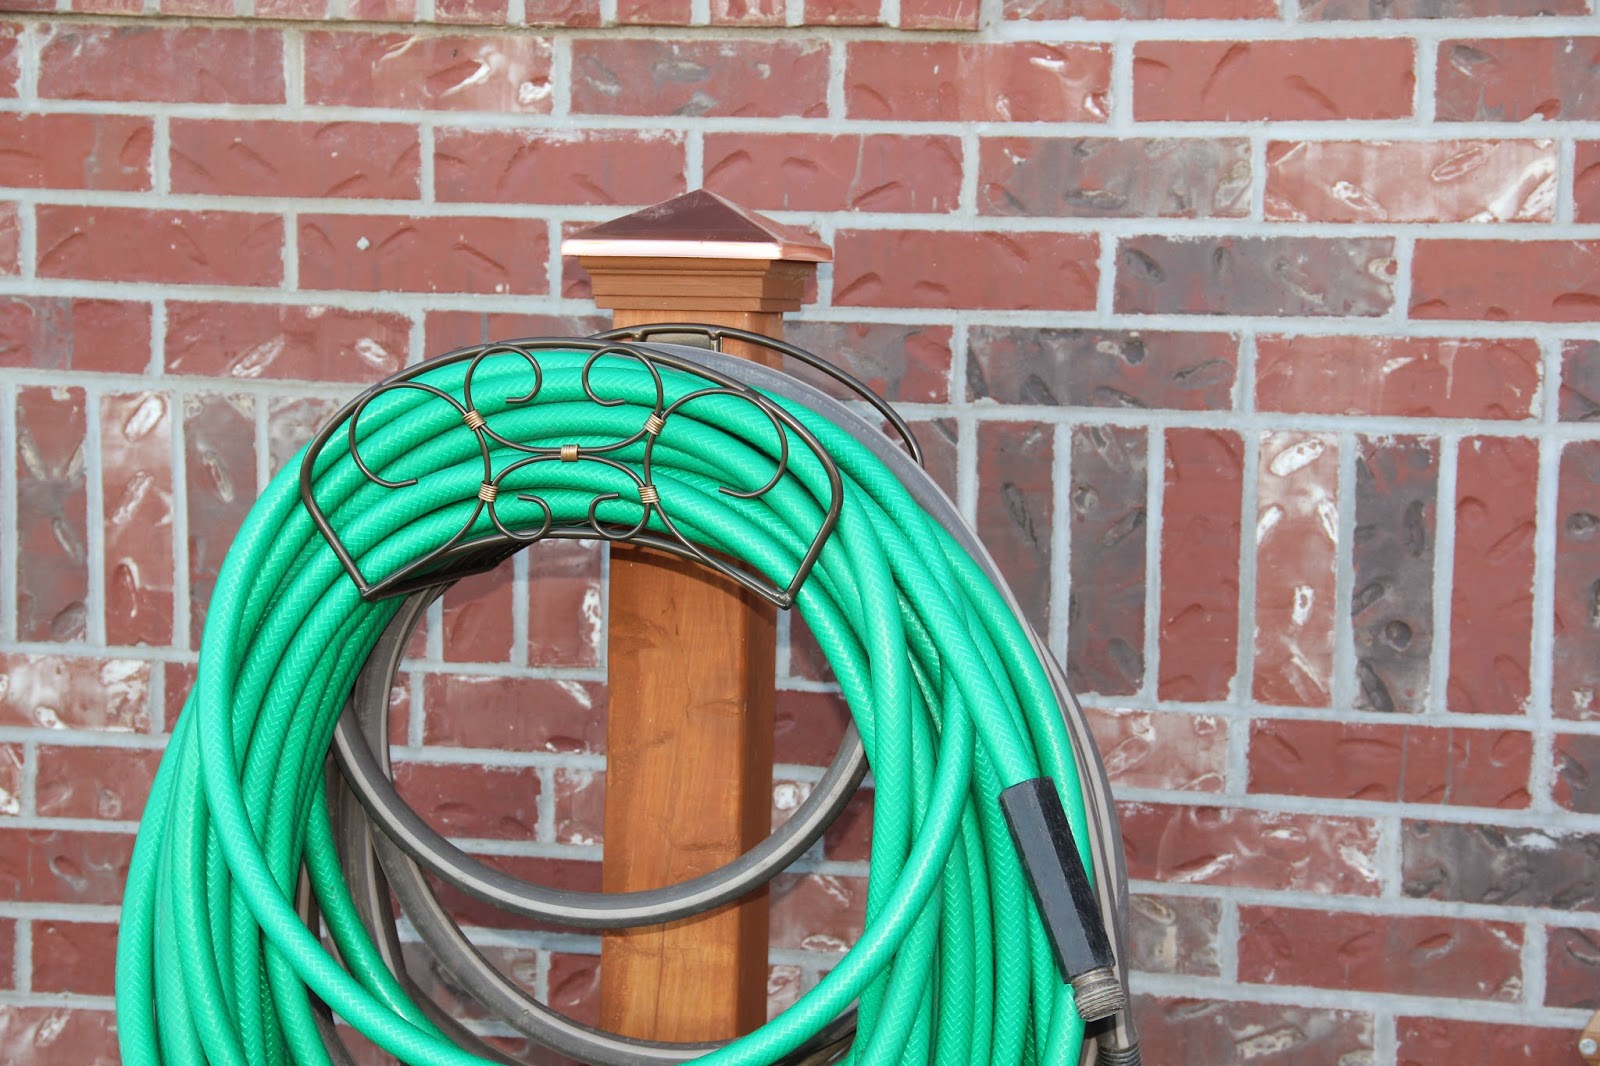
hose holder posts


i am SOOOOOO excited about this project.  a person wouldn't think that with a new house and underground sprinklers that i wouldn't need to have lots of garden hoses laying around.  wrong!!!  SO many trees to water.  boy was i ever pumped when i saw this idea on pinterest from this cool blog http://www.shanty-2-chic.com/2013/06/hose-holder-for-the-garden-diy.html
i did 2 versions though-a pretty holder and copper top for up by the house and the plain jane holders and tops for out by the water hydrant/garden.  glad i could talk my hubby into digging the holes for me, cause i think that was the longest part of the project.  he did an awesome job too, rigged up a brace so that the 3 by the water hydrant were all equally spaced and the same height.  i did buy the tops for those also.  and its the perfect spot for my rain gauge!

Tuesday, February 12, 2013

late christmas stuff


i know this is way late, but with everyone being sick (more then once with everything that is going around) and christmas & the wedding, i finally remembered & had time to post these.  the kids had fun gluing & then painting the 'houses'.  they didnt like the waiting for the glue to dry though. 

Sunday, January 22, 2012

'ice' fishing


there hasnt been much for ice this year, but kids will love this 'ice' fishing.  wooden pole with magnetic 'hook' catches six fish.  now you can fish even when it's too cold, or windy outside.  i have heard it's also great in the car, and a fun way to learn. (paper clip on words, numbers or letters)
to help avoid fighting extra poles and fish are also available.  
$14 for pole & six fish, extra fish $1.50 & extra pole $2.

Monday, March 28, 2011

dino minds eye


boys love dinosaurs (at least my son does) a great gift for his easter basket