Showing posts with label diy. Show all posts

Sunday, May 14, 2017

dresser redo


i got this cute chippy dresser at junktagious way back in october.  i loved how chippy it was, it was solid & steady, the drawers all pulled nice.  and the wood handles, with the pant warped.  most likely from kitchen grease. the caster wheels were cool, but i didnt think i would keep them on.  i wanted to put a coat of poly on the base to keep the chippy feel & paint the top.
 

the original plan was to make it into a night stand for z.  he wanted the other dresser with the zinc top for his room.  guess that will teach me to start working on a project BEFORE i ask.  or next time i                                                                  wont ask, and i'll just do.                                                                                                                                     
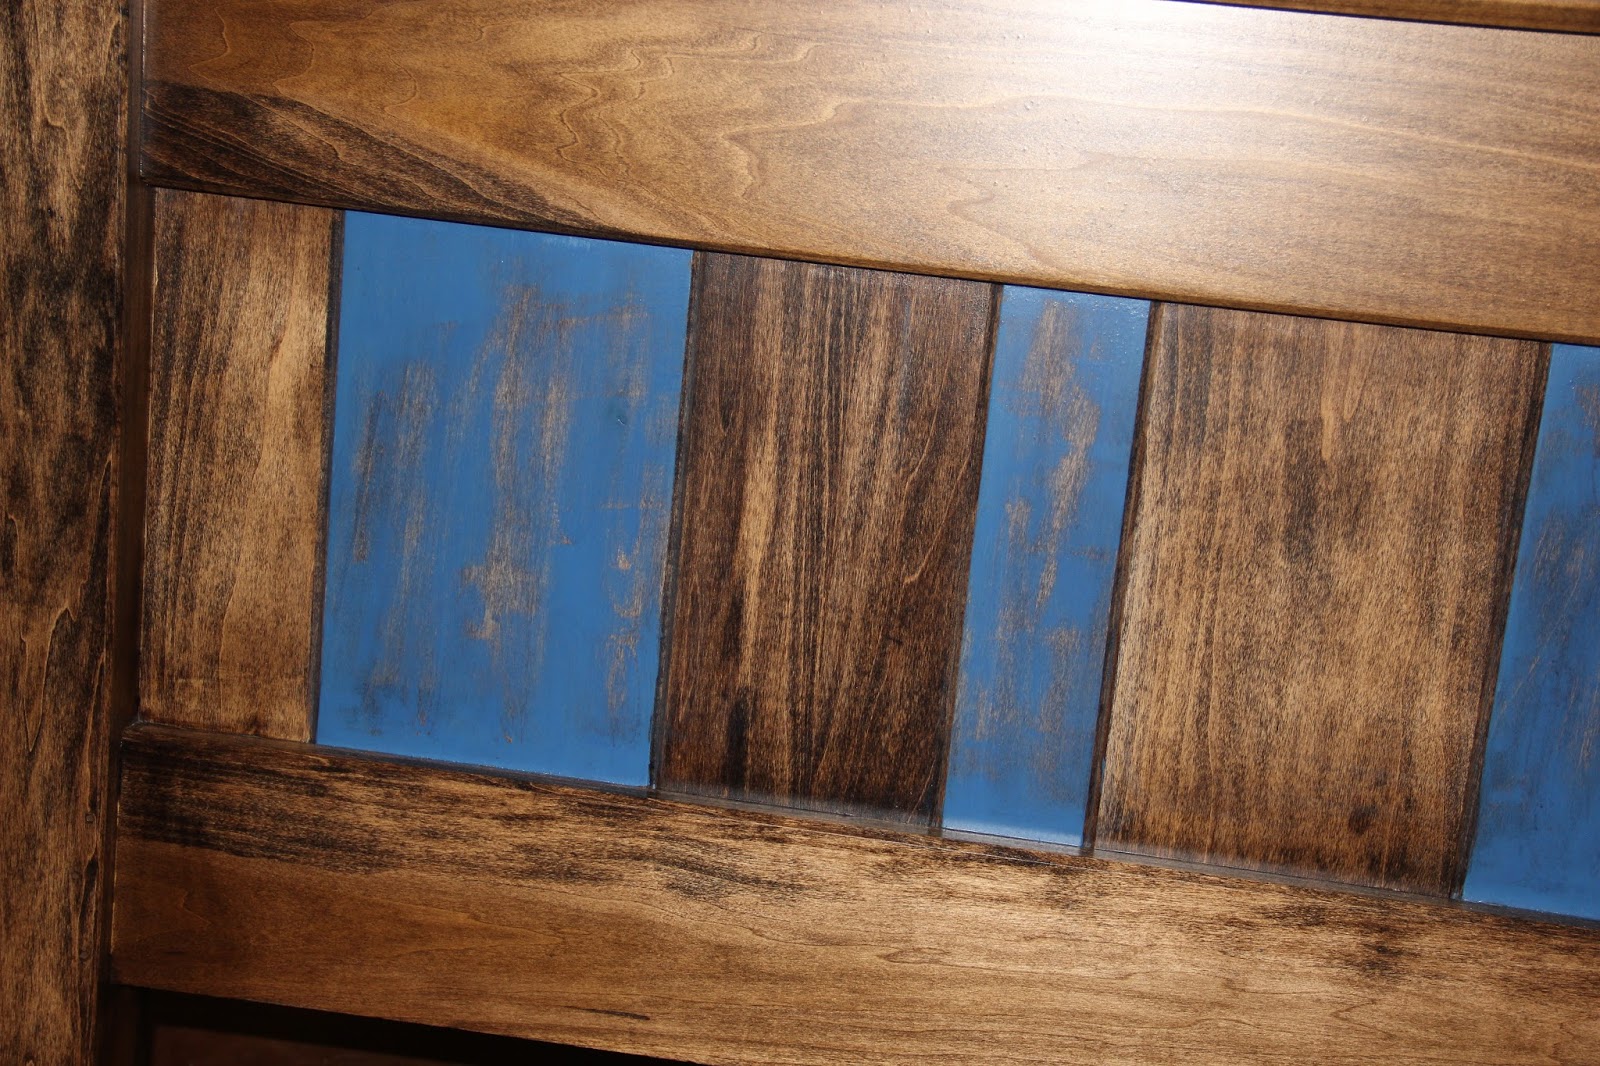
 the original top that i started to paint blue to match z's room... 


this was what was under the original top. not very pretty so i went to the hardware store/lumber yard and got a nice piece of oak to cut down and use. i wanted a dark top to contrast with the chippy white.  (glad my hubby was able to help me out with the top or it woudnt be this pretty)  there was some funky wall paper stuff on the inside that i pulled and scrapped out most of.  you can still see some of it in the finished pictures.   

here is the finished project.  i love how it turned out   i took the bottom drawer out and it is now my laundry hamper. its not perfect, but its perfect for me. 


Sunday, June 12, 2016

dresser redo's and a bed

 z didnt really have a good bed set.  when he moved down stairs, we got my a bed set from my sister.  it served its purpose, but i wanted something that he could eventually take with him....  some LONG distant day down the road.  i got a pretty good deal on these 2 dressers.  the top on 1 was a bit rough, but i thought i could maybe fix or paint it.  best part is they are real wood and pretty solid and sturdy. 

 apparently i didnt get very many before pictures.  but this is what the tall dresser looked like with a few drawers sanded and original.  there were some wood decals on the front of the smaller middle drawers that werent complete.  i ended taking them off (with a little muscle and a putty knife) so i had to sand all the drawer fronts.  at this point i wasnt sure if i wanted to try to fix the tops or paint them.  

but i liked the color that came out when i sanded, so paint the tops it was (i know i DONT paint wood.  this was a once in a handful of times it will probably ever happen to furniture) 


had i known how hard it can be to strip off veneer, i may have decided to fix the tops.  it was NOT fun.  took LOTS of muscle, a few different putty knives and a warm wet towel.  once i finally got all the veneer off, i did like the wood.  but i only stripped 1 top and i wasnt about to to the other, no matter how neat the wood underneath was.  


here are the drawers after i got them washed up.  beautiful color!!!


and the finished result!  i like the 2 tone wood from sanding the drawer fronts and just resealing the sides.  i did use a chalk paint fro the tops, but wanted a more rustic feel to them, so i used my palm sander to remove some of it.  


now you must be thinking i said i wanted z to have a bed set to take with him someday. but you have only mentioned dressers.... i had to have a headboard, foot board and frame made.  blake did an awesome job taking my ideas from pinterest and making it come true.  i love how the boards are all different widths.  and its very sturdy.  

Tuesday, May 19, 2015

spring never has enough time

while i LOVE spring and summer-warm weather, camping, lightening shows, rainbows, swimming, lightening bugs.... i don't like that it means that i have to divide my time.  inside crafting or outside working. one of the 1st things we do is get the camper out and ready.  big a (bless him) parked the camper on the cement for me so we/i could get it ready this year.  plus he's been bugging me about washing the outside for the past few years. he did a great job (though we should have done it last year).  mother nature has been a bit too bipolar with temps to do much of anything else. so while little a was in jersey (she gets back tonight) i decided i had better get her bed fixed. it was attached to a metal frame....but it was SO noisy! she couldn't breathe without it squeaking.  so i had been looking on pinterest and found a tutorial for making a wooden bed frame & head board.  didn't need the head or foot board (thanks to a great friends dad for making these for me a few years back out of old doors), but the info on the frame-heck yes! got my lumber and went to town.  (twice cause i originally got 2x8's which were too big-that should have been my 1st clue) cut a good 9" of the head & foot board, they were kinda tall and then i would have had to deal with big holes from where the bolts were at for the metal frame. cut the side supports and slats.  made 3 supports for the slats since the mattress is so heavy.  get it all put together (after issues with a few of my screws) and the box spring wont fit :( so on to plan b.  big a had suggested to move up my slat supports, but that would have made the bed awful high with nothing to keep the box spring in place.  so back to town for more lumber i went.  i was only about an inch off, so i decided to put the side supports on the outside of the  head/foot boards.  i was SO happy that it fit.... that bed wasn't going to beat me! 
now it makes me think that i should maybe do the same to p's bed.....